Tue 3 Mar 2009
How to clean the ice and water dispenser of a Whirlpool refrigerator (without breaking it)
Posted by Christian Donner under Home and YardComments Off on How to clean the ice and water dispenser of a Whirlpool refrigerator (without breaking it)
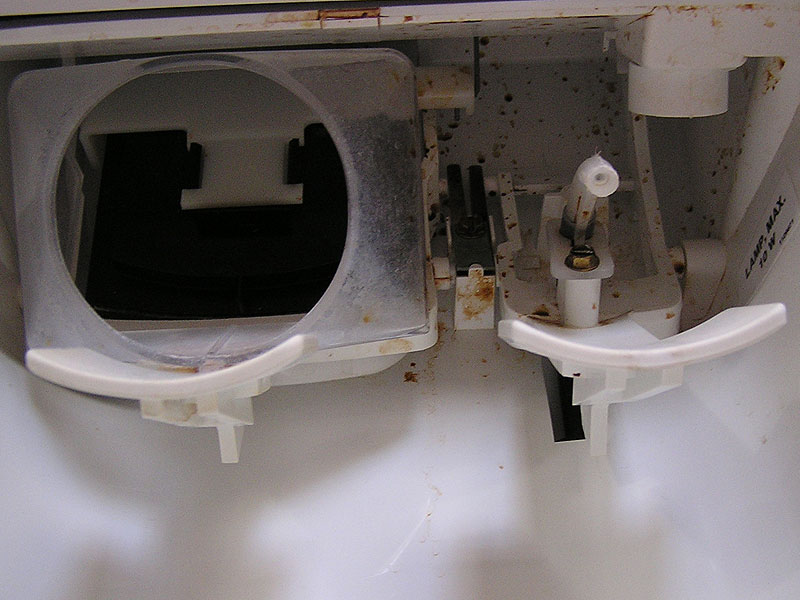
Dispensing ice cubes into full cups of dark brown liquid is the most fool-proof way of making a mess around the water and ice dispenser on the refrigerator. When the point is reached where some cleaning is due, one quickly realizes that this is harder than it looks. The area with the most splatters is not very accessible. Time to take the thing apart …
Tools needed: 1 flat-head screwdriver
Time needed: 45 minutes
Make sure to disconnect the power cord before you start. If you get electrocuted, don’t blame this blog post.
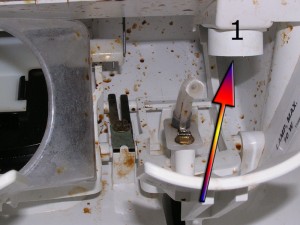
1. Remove the light bulb
Carefully unscrew the light bulb and put it in a safe place.
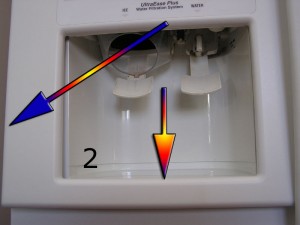
2. Remove front panel cover
The first step is to remove the front panel that surrounds the dispenser opening. The front panel is snapped on a frame that is screwed onto the freezer door. In order to remove it, push down the bottom of the panel from inside the opening, while pulling one side away from the door. Do not use excessive force. If pushed down far enough, it will come off without breaking.
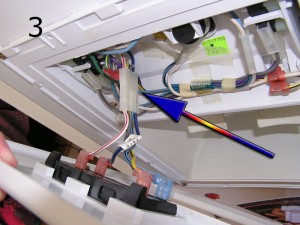
3. Disconnect the front panel cover
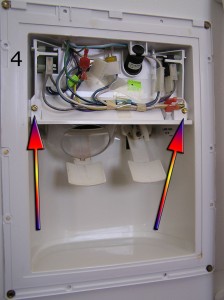
4. Remove switch assembly
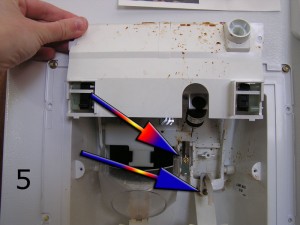
5. Unscrew spring and nozzle
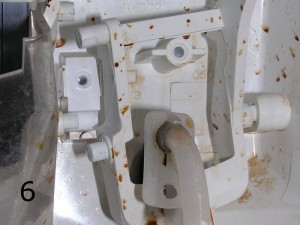
6. Remove water lever
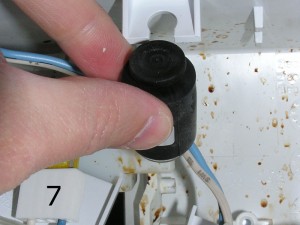
7. Remove door damper
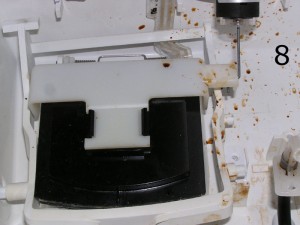
8. Remove ice lever
Now, open the ice door and carefully feed the ice lever around the door and the damper. This is as far as we need to go. Everything is now accessible and ready for cleaning.
Soak the plastic parts in a water-vinegar solution (1:1) to remove any lime that has built up. Clean the refrigerator with a wet sponge. Make sure to open the ice door and clean around the opening. When everything is clean, start reassembling the parts in reverse order.
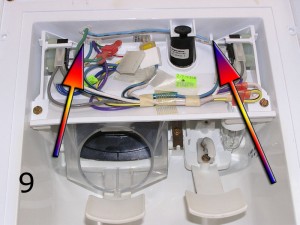
9. Reinstall switch assembly
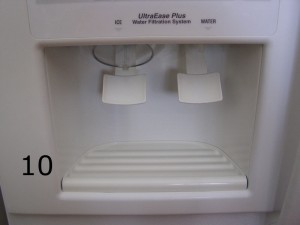
10. Enjoy water from a clean refrigerator
Plug in the power cord, test the water and ice dispensers, and enjoy the sparkling new look of your refrigerator.
